Cricut Stopped in the Middle of Cutting Continue Cutting
Disclosure: Some of the links below are affiliate links provided for your convenience. This means, at no additional cost to you, we will earn a commission if you click through and make a purchase
Help! My Print then Cut projects aren't turning out the way I want them! We hear this all the time. If you're having problems with your projects, keep reading because we're going to show you several different ways of Fixing Cricut Print then Cut Issues.
Making Print then Cut craft projects with our die cutting machines is one of our favorite things to do. We have had our share of craft fails with it though and we want to share what we've learned with you so that you can make Print then Cut crafts that turn out beautifully every single time.
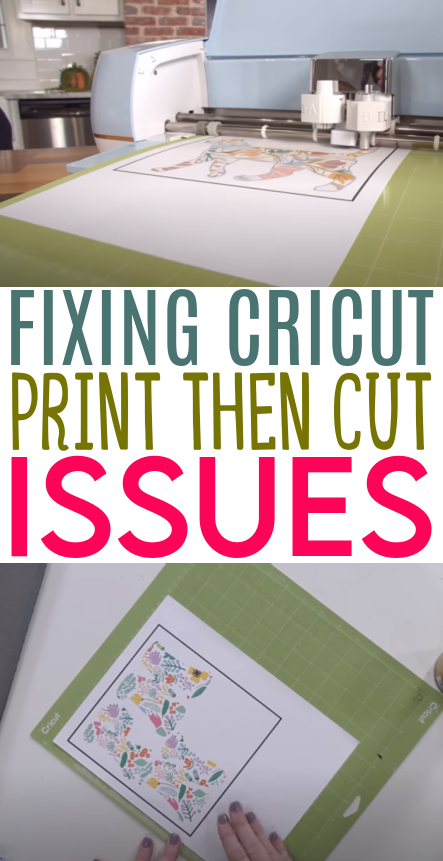
Fixing Cricut Print then Cut Issues
Let's begin by looking at factors that can interfere with your machine even cutting out your Print then Cut projects in the first place.
#1 – Lighting conditions may be affecting your machine.
There is a sensor in your machine that reads the registration marks on what you have printed. If your lighting is less than perfect or a bit shadowy, these sensors may have difficulty reading the those marks properly.
Some ideas to consider: working in direct sunlight or really strong fluorescent lighting right over your Cricut could be causing shadows on your machine. If that's the case, you can try turning those lights off and see if that solves the problem. You could also try moving your Cricut to a different location.
We have even had success with draping a sheet over our Cricut machine if those other ideas simply aren't an option.
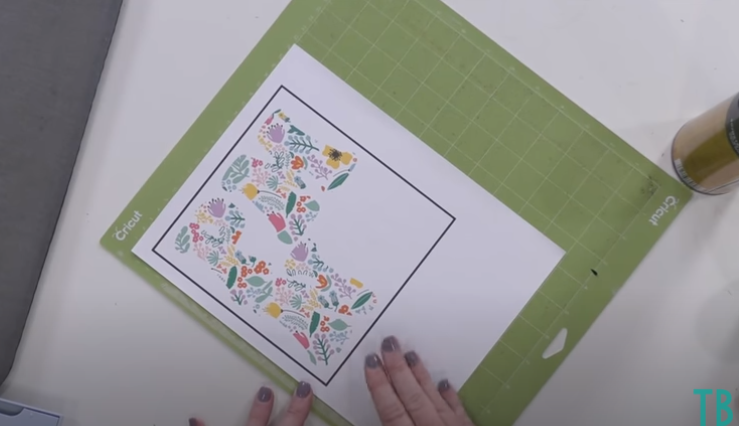
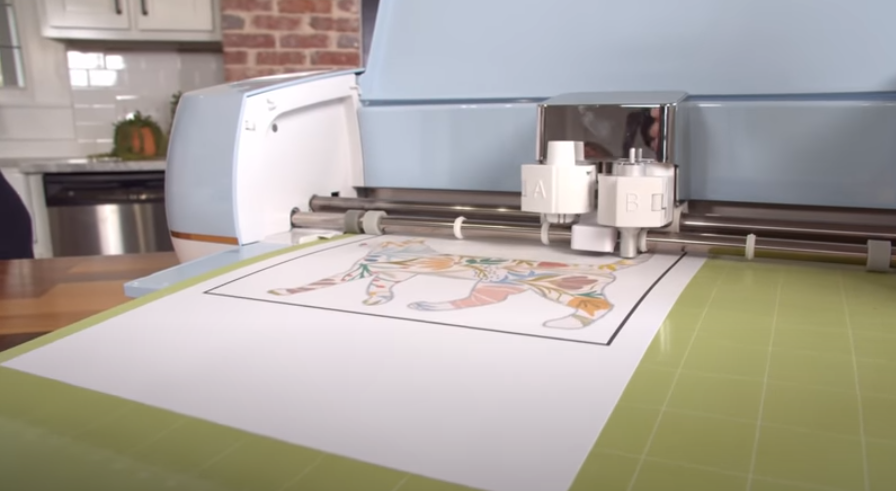
#2 – Check the position of your material.
It's very, very important no matter what material you are printing on, that you place it in the top left corner of your cutting mat. This is where your machine "expects" it to be and placing it there will help ensure that it is cutting properly.
You also want to be sure that your material is smooth and wrinkle free so that the sensor can read those registration marks accurately.

#3 – Clean that sensor!
Your sensor on your Cricut might be dirty and of course, this can interfere with it reading the registration marks precisely and giving you the best cuts. This is especially important when using glossy materials – a glossy vinyl or materials you have sprayed with a polyurethane spray to seal it, for example.
Reflection of the lights can prevent the sensors from reading the registration marks accurately. This is especially true if the sensor is dirty. Simply use a clean, dry brush to remove any debris from the sensor.
Okay, so you've tried these solutions and now your machine is cutting your projects. But, the quality of the printing isn't great. Or maybe the cuts are a little bit off. Now what?
The Best Printers to Use for Your Cricut Print then Cut Projects
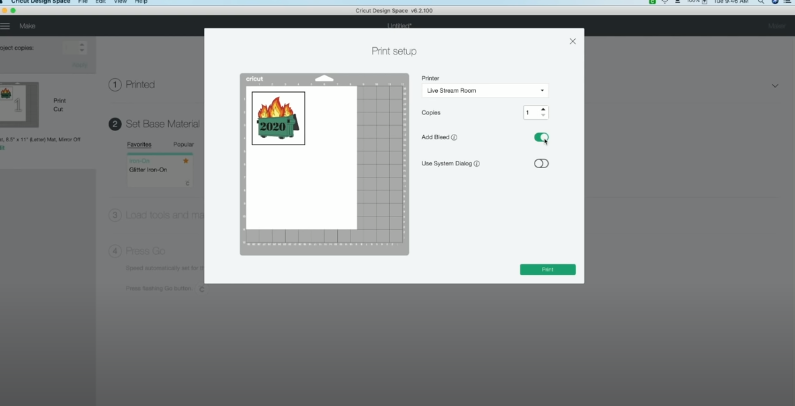
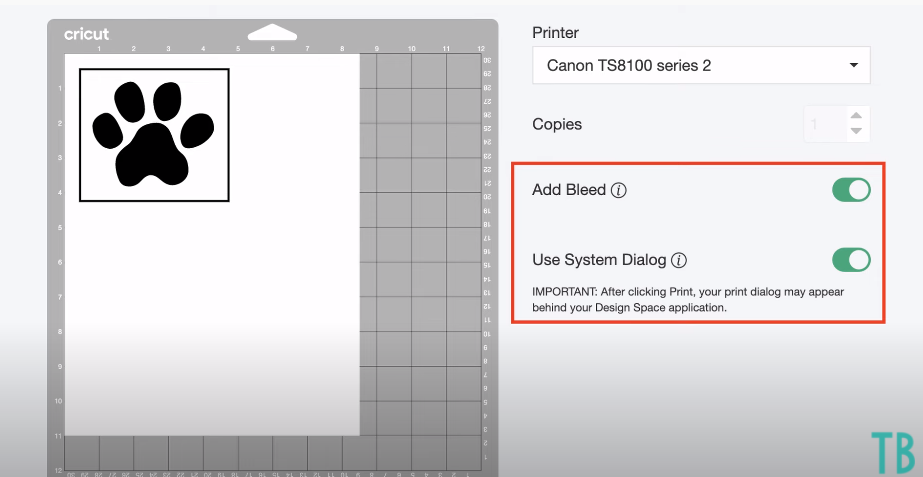
#4 – Turn on the "Bleed" option in Cricut Design Space.
What this does is to add a tiny border all the way around your project that gives your machine a little wiggle room in case it's a bit off when making the cuts.
How to seal your Print then Cut projects
#5 – Use system dialog.
You can also choose – just below where you Add Bleed – to toggle on the Use System Dialog option. We highly recommend this. Under Quality, you can move that bar all the way up to Best and get a higher quality print for your craft project.
Here on the system dialog is where you can also change which tray your printer will use. Use the Feed From setting to select this.

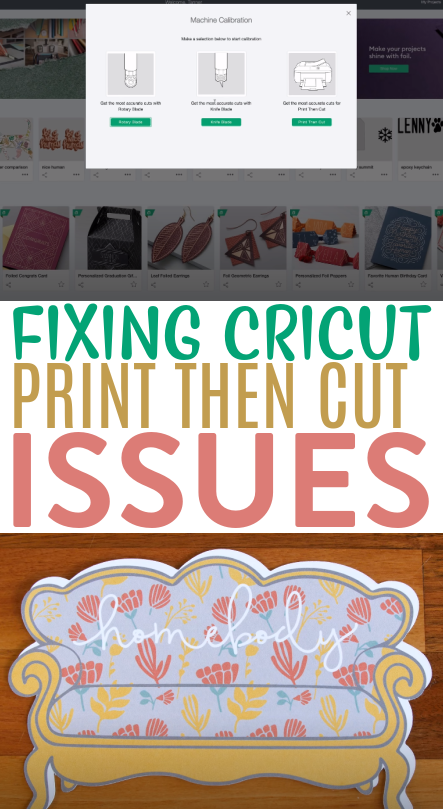
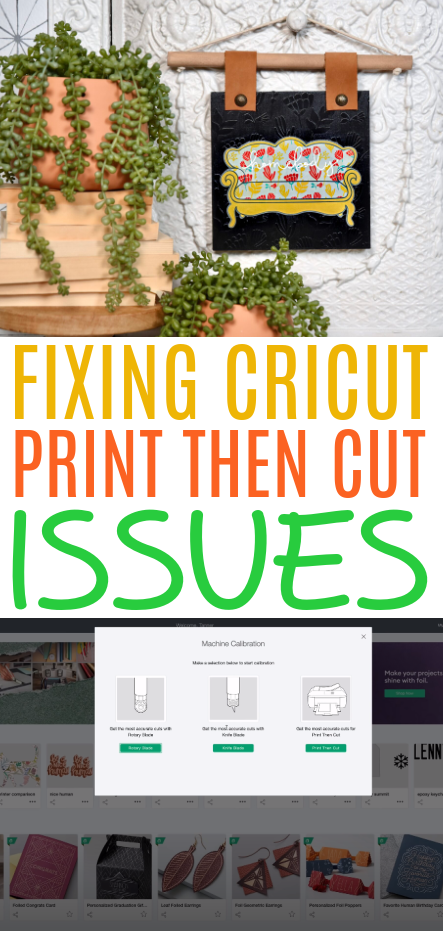
#6 – Calibrate your machine.
Whether you have a Cricut Maker or Cricut Explore, you can calibrate your machine for Print then Cut projects. (As you can see above, with a Maker you can also calibrate your knife blade and your rotary blade).
If there is a border around your design that shouldn't be there, that's an indication that your machine needs to be calibrated.
We have a full tutorial on how to calibrate your machine here.
How to create Print then Cut projects that are larger than Cricut restrictions
We can't wait to see your Cricut Print then Cut projects. Be sure to tag us using hashtag #MakersGonnaLearn on social media and share your projects with us.
Source: https://makersgonnalearn.com/fixing-cricut-print-then-cut-issues/
0 Response to "Cricut Stopped in the Middle of Cutting Continue Cutting"
Postar um comentário